- Integrations
- SupportBee
Turn Support Tickets into Route5 Issues
Overview
When a customer reports a bug or requests a feature, send it from SupportBee’s shared inbox to Route5 as an issue — with full context, no copy-pasting
How it works
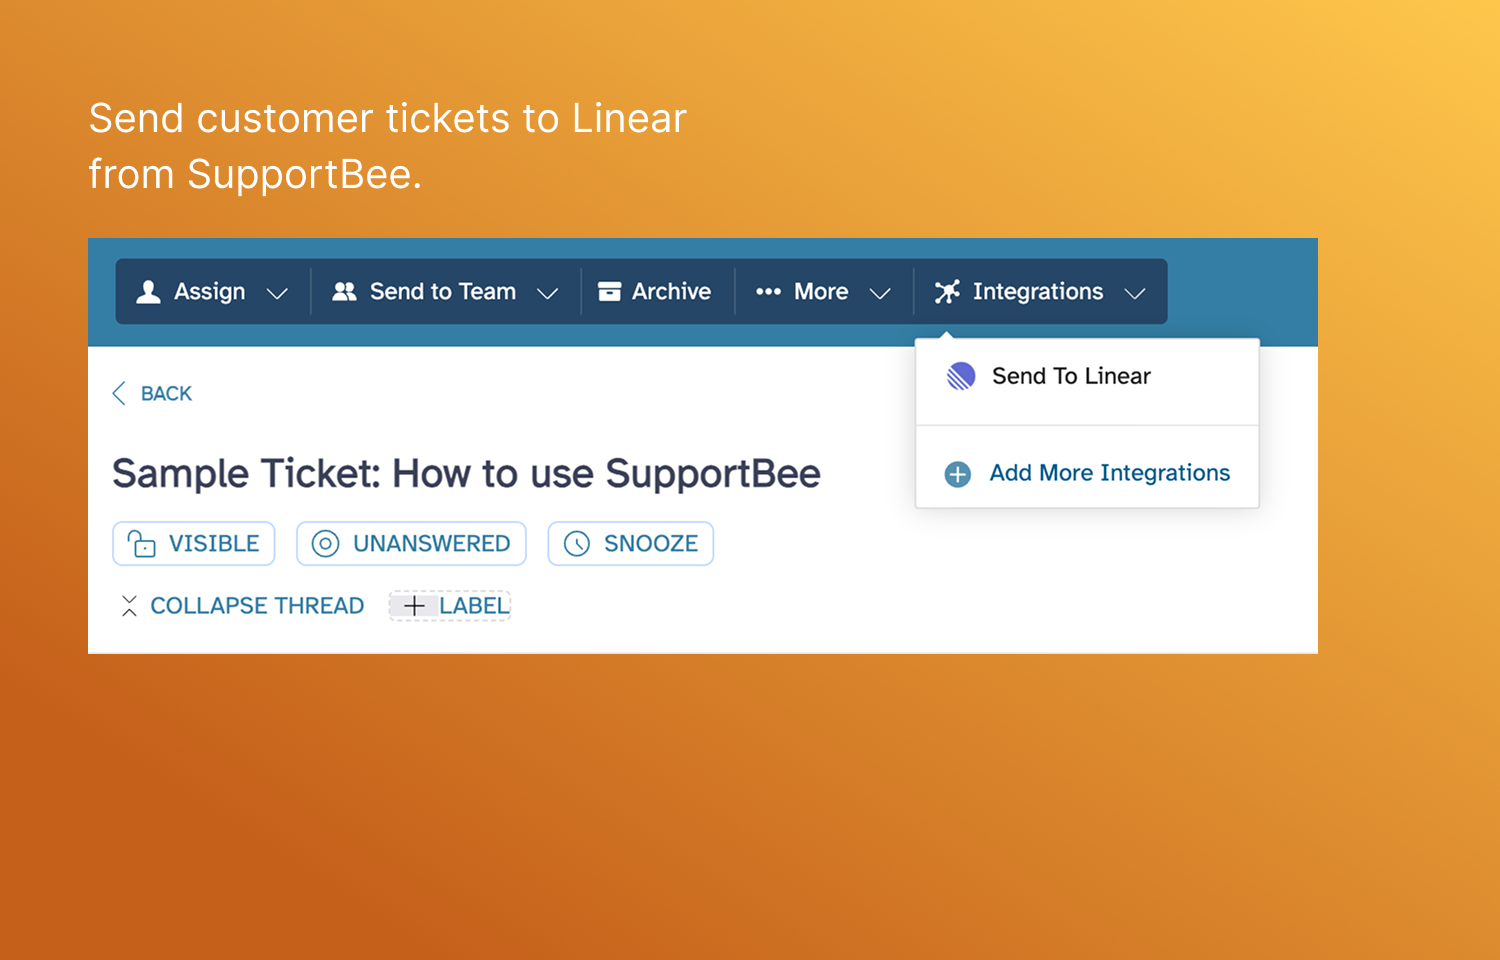
The integration adds a “Create Issue in Route5” action to every ticket in SupportBee. One click sends the ticket content — subject, body, customer details, and any attachments — into your Route5 workspace as a New commitment.
You control where issues land:
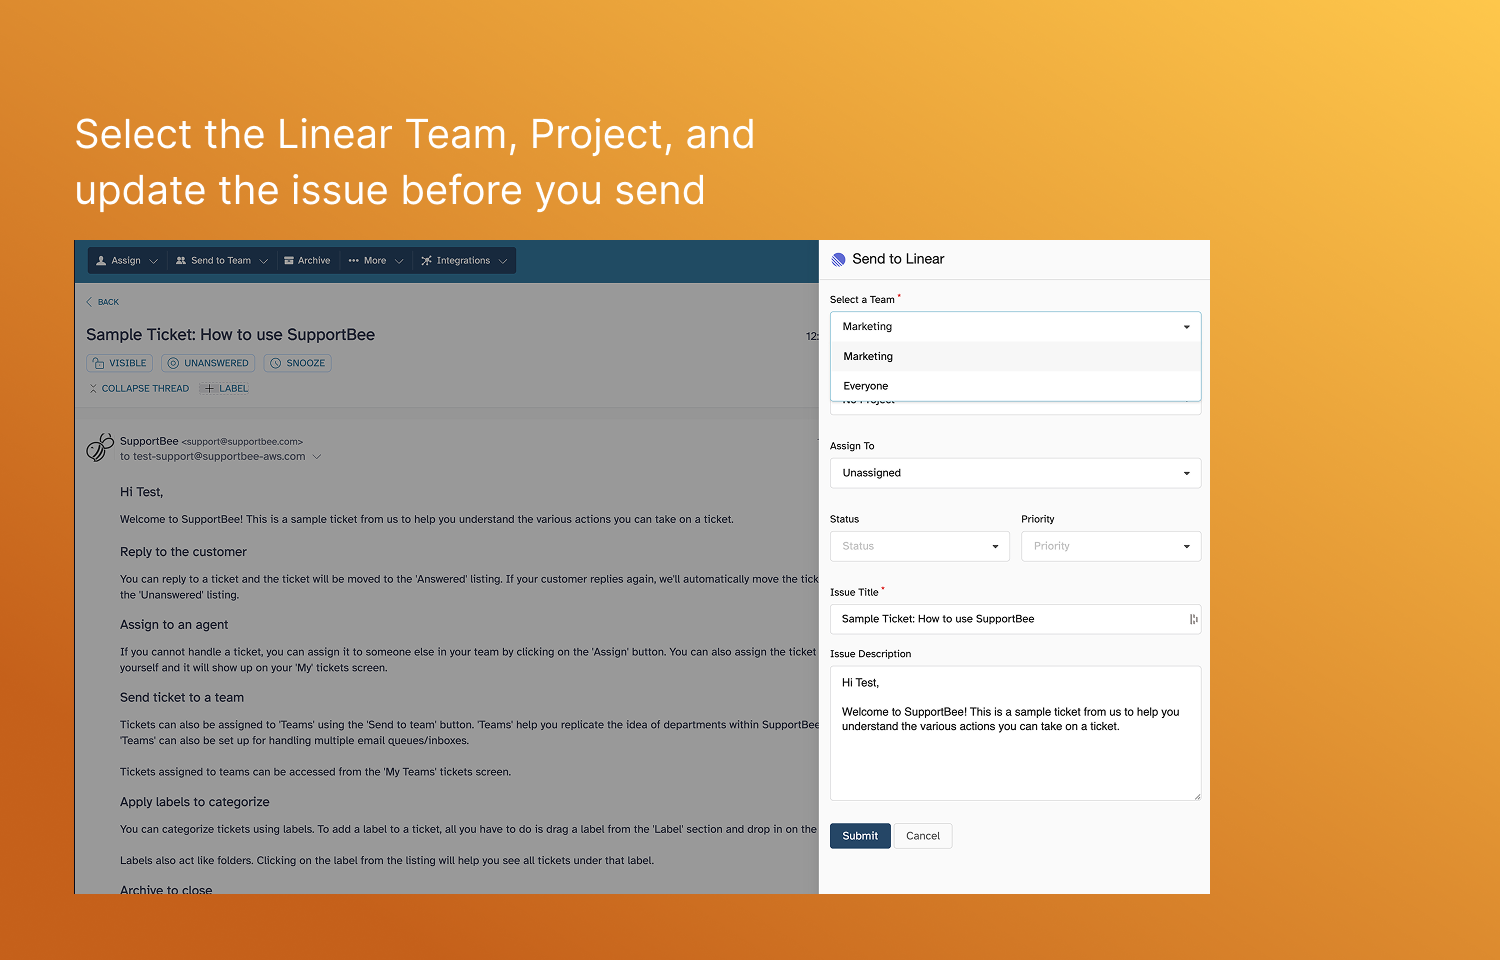
- Team — Choose which Route5 team the issue is assigned to (Engineering, Product, Design, etc.).
- Project — Assign it to a specific Route5 project for better organisation.
- Priority and labels — Set priority levels and labels so your engineering team can triage without asking for more context.
Support agents stay in SupportBee. Engineers stay in Route5. Each team works in the tool built for their workflow, with full visibility into what the customer reported.
Configure
Connecting SupportBee’s ticketing system to Route5:
- Go to Admin → Integrations in SupportBee
- Search for Route5 and click Add to My SupportBee
- Authorize SupportBee to access your Route5 workspace
- Select the default team and project for new issues
No API keys to generate, no webhooks to configure. Once connected, every agent on your team can create Route5 issues directly from support tickets.
Once the integration is active, here is how your team uses it day-to-day:
- Open a ticket in SupportBee’s team inbox
- Click Integrations → Create Issue in Route5
- Review the title and description — edit if needed
- Choose the target team and project
- Set priority and add labels
- Submit
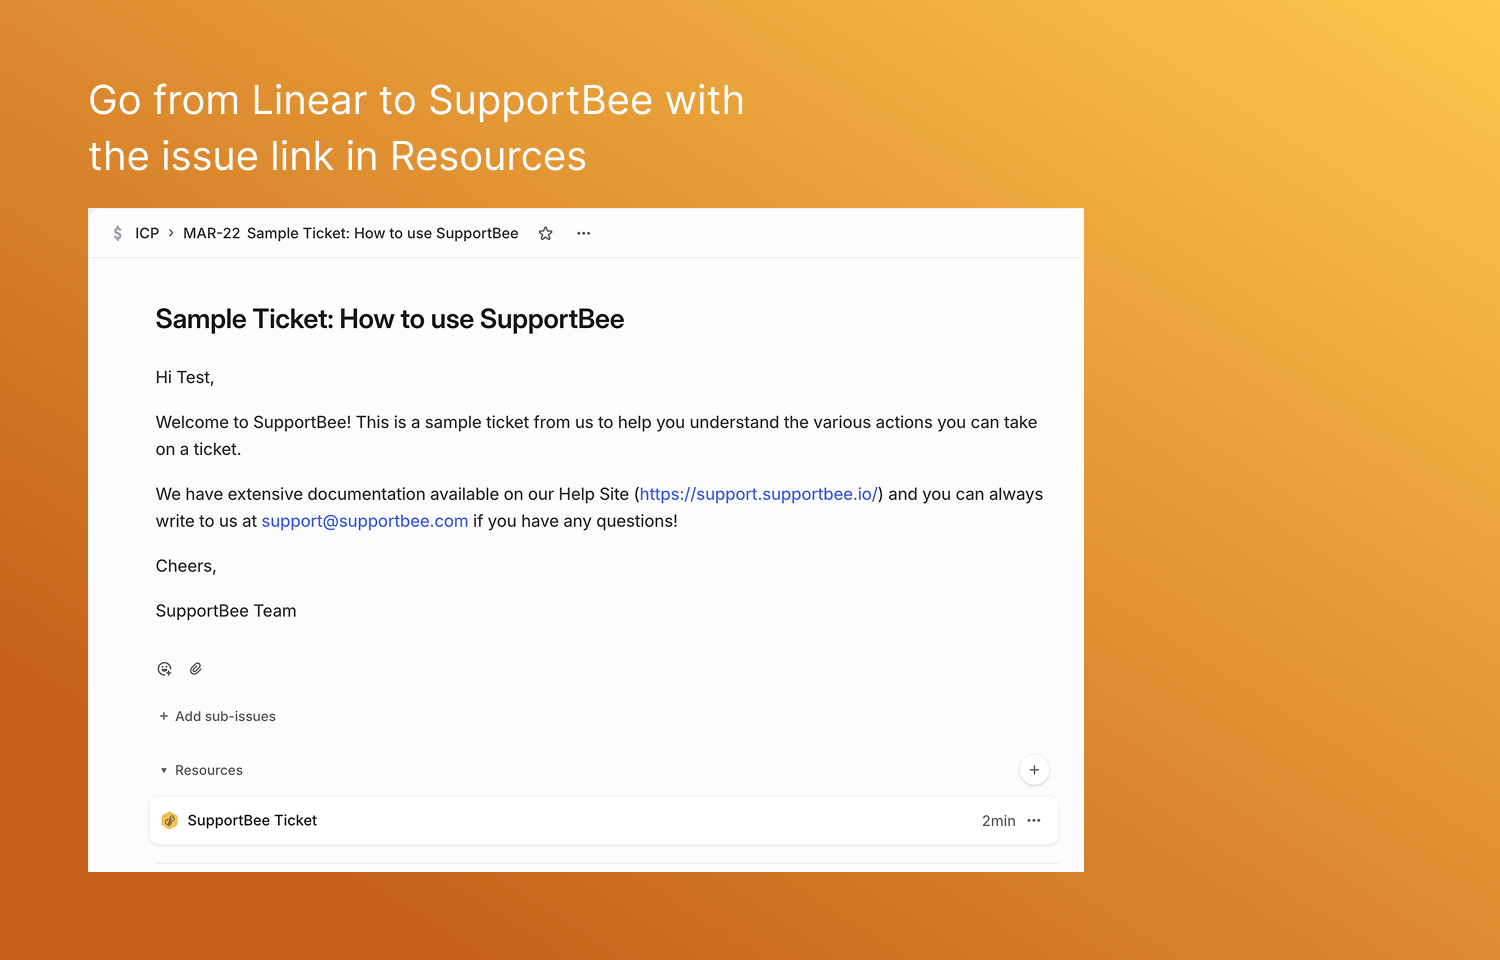
The issue appears in Route5 immediately with the full customer context. Your engineering team can start working on it without needing access to your help desk or asking the support agent for details.